Mastering Raspberry Pi SSH Tunnel VPN: The Ultimate Guide
Raspberry Pi SSH tunnel VPN has become increasingly popular among tech enthusiasts and professionals alike. This compact yet powerful device offers a cost-effective solution for setting up secure connections, remote access, and privacy protection. Whether you're a beginner or an advanced user, understanding how to leverage Raspberry Pi for SSH tunneling and VPN configurations can significantly enhance your cybersecurity measures.
In today's digital age, securing your online activities is no longer optional but essential. With the rise of cyber threats and data breaches, individuals and businesses are seeking reliable ways to protect their sensitive information. Raspberry Pi, combined with SSH tunneling and VPN, provides a robust platform for achieving this goal.
This comprehensive guide will walk you through the process of setting up Raspberry Pi SSH tunnel VPN step by step. From understanding the basics to advanced configurations, we will cover everything you need to know to create a secure and efficient network setup. Let's dive in!
Read also:Percy Tau South African Footballer With A Degree And A Millionaire Lifestyle
Table of Contents
- Introduction to Raspberry Pi SSH Tunnel VPN
- Understanding Raspberry Pi
- What is SSH and How It Works
- Understanding VPN and Its Importance
- Setting Up Raspberry Pi SSH Tunnel VPN
- Configuring SSH on Raspberry Pi
- Installing and Configuring a VPN on Raspberry Pi
- Advanced Techniques for Securing Connections
- Common Issues and Troubleshooting
- Best Practices for Raspberry Pi SSH Tunnel VPN
- Conclusion and Call to Action
Introduction to Raspberry Pi SSH Tunnel VPN
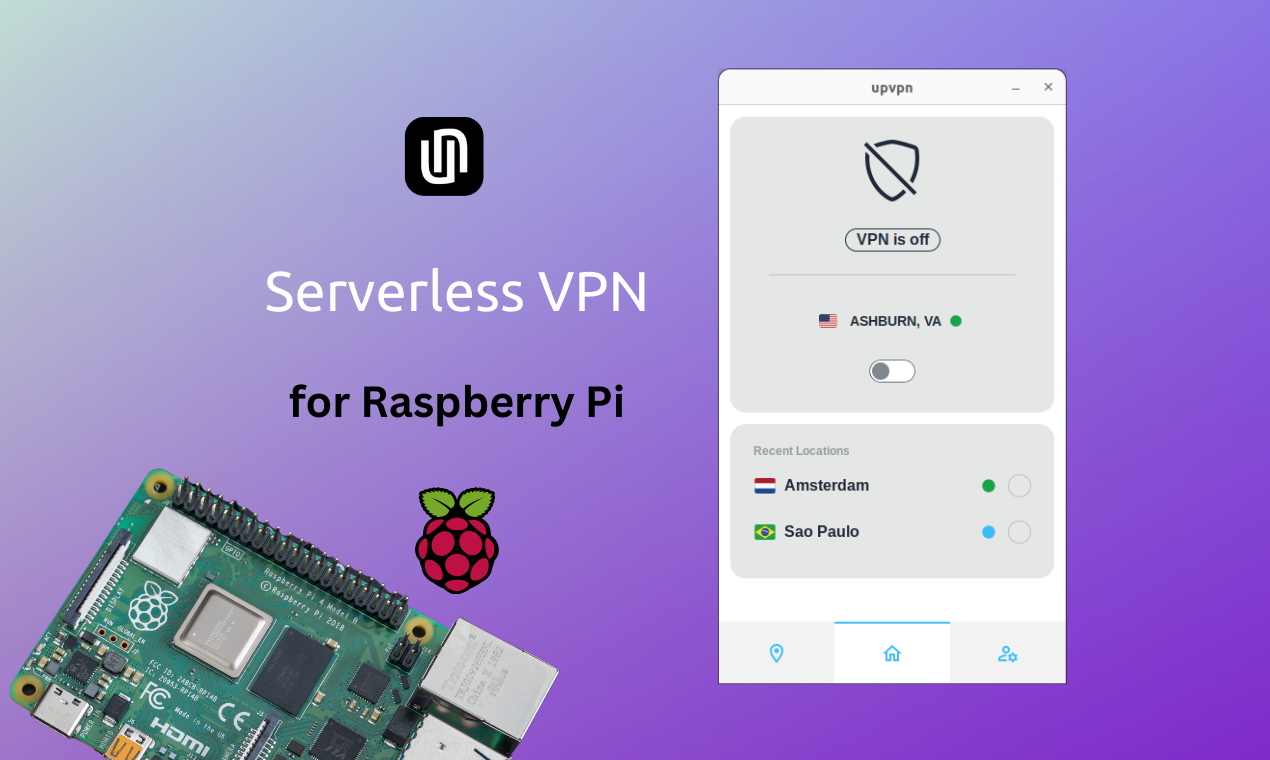
Raspberry Pi SSH tunnel VPN combines three powerful technologies to provide enhanced security and privacy for your internet activities. The Raspberry Pi serves as the hardware foundation, SSH ensures secure communication between devices, and a Virtual Private Network (VPN) encrypts your data to protect it from prying eyes.
This setup is ideal for users who want to access remote servers securely, bypass geographical restrictions, or protect their online identity. By integrating these technologies, you can achieve a high level of cybersecurity without breaking the bank.
Understanding Raspberry Pi
What is Raspberry Pi?
Raspberry Pi is a credit card-sized single-board computer developed by the Raspberry Pi Foundation. Despite its small size, it packs impressive capabilities, making it perfect for various projects, including home automation, media centers, and, of course, SSH tunneling and VPN configurations.
Key Features:
- Compact and lightweight design
- Cost-effective solution for tech projects
- Supports multiple operating systems, including Linux-based distributions
- Highly customizable and versatile
Why Use Raspberry Pi for SSH Tunneling and VPN?
Raspberry Pi offers several advantages when used for SSH tunneling and VPN configurations:
- Low Power Consumption: It consumes minimal power, making it suitable for long-term use.
- Open-Source Software: The ability to run open-source operating systems ensures flexibility and security.
- Community Support: A vast community of users provides ample resources and tutorials for troubleshooting and optimization.
What is SSH and How It Works
SSH, or Secure Shell, is a cryptographic network protocol used for secure communication between devices. It allows users to remotely access and manage servers, transfer files, and execute commands securely.
Read also:Zoe Renae The Rising Star Whos Taking The World By Storm
Key Features of SSH:
- Encryption of data during transmission
- Authentication mechanisms to verify user identity
- Support for various encryption algorithms
SSH tunneling, in particular, enables users to forward traffic securely through encrypted channels, bypassing firewalls and other restrictions.
Understanding VPN and Its Importance
A Virtual Private Network (VPN) creates a secure connection over a public network, such as the internet. It encrypts your data and masks your IP address, providing anonymity and protection from potential threats.
Benefits of Using a VPN:
- Data encryption to protect sensitive information
- IP address masking for anonymity
- Access to geo-restricted content
When combined with Raspberry Pi and SSH, a VPN enhances the overall security of your network setup, making it an ideal choice for users who prioritize privacy.
Setting Up Raspberry Pi SSH Tunnel VPN
Step 1: Preparing Your Raspberry Pi
Before setting up Raspberry Pi SSH tunnel VPN, ensure your device is properly configured. Follow these steps:
- Install the latest version of Raspberry Pi OS on your device.
- Connect your Raspberry Pi to a stable power source and network.
- Update the operating system using the command:
sudo apt update && sudo apt upgrade.
Step 2: Configuring SSH
Enable SSH on your Raspberry Pi by running the following command:
sudo raspi-configNavigate to "Interfacing Options"> "SSH" and enable it. This will allow remote access to your Raspberry Pi.
Step 3: Installing a VPN
Choose a reputable VPN provider and download their client for Raspberry Pi. Popular options include:
- OpenVPN
- WireGuard
- ProtonVPN
Follow the installation instructions provided by your chosen provider to set up the VPN on your Raspberry Pi.
Configuring SSH on Raspberry Pi
Once SSH is enabled, you can customize its settings to enhance security and functionality. Consider the following tips:
- Change the default SSH port to a non-standard number to reduce brute-force attack risks.
- Disable password authentication and use SSH keys for added security.
- Set up a firewall to restrict access to your SSH server.
By properly configuring SSH, you can ensure that your Raspberry Pi remains secure while still allowing remote access.
Installing and Configuring a VPN on Raspberry Pi
Choosing the Right VPN Provider
Selecting the right VPN provider is crucial for achieving optimal performance and security. Look for providers that offer:
- Strong encryption protocols
- No-logs policy
- Wide server network
Configuring OpenVPN on Raspberry Pi
To install OpenVPN on your Raspberry Pi, run the following commands:
sudo apt install openvpnsudo cp /path/to/config/file.ovpn /etc/openvpn/client/Start the OpenVPN service using:
sudo systemctl start openvpn@clientVerify the connection by checking your IP address on a website like WhatIsMyIP.
Advanced Techniques for Securing Connections
For users seeking an extra layer of security, consider implementing the following advanced techniques:
- Double VPN: Route your traffic through two separate servers for enhanced anonymity.
- Split Tunneling: Configure your Raspberry Pi to use the VPN for specific applications or websites only.
- Port Forwarding: Set up port forwarding rules to allow certain types of traffic through your SSH tunnel.
These techniques can help you tailor your Raspberry Pi SSH tunnel VPN setup to meet your specific security needs.
Common Issues and Troubleshooting
Even with careful setup, issues may arise when configuring Raspberry Pi SSH tunnel VPN. Here are some common problems and their solutions:
- SSH Connection Refused: Ensure SSH is enabled and the correct port is used.
- VPN Connection Drops: Check your internet connection and update the VPN client if necessary.
- Slow Performance: Optimize your network settings and choose a server closer to your location.
Refer to the official documentation of your chosen tools for more detailed troubleshooting steps.
Best Practices for Raspberry Pi SSH Tunnel VPN
To maximize the effectiveness of your Raspberry Pi SSH tunnel VPN setup, follow these best practices:
- Regularly update your operating system and software to patch security vulnerabilities.
- Use strong, unique passwords and enable two-factor authentication wherever possible.
- Monitor your network traffic for suspicious activity and take immediate action if any is detected.
By adhering to these guidelines, you can ensure that your Raspberry Pi SSH tunnel VPN remains secure and efficient.
Conclusion and Call to Action
Raspberry Pi SSH tunnel VPN offers a powerful solution for enhancing your cybersecurity measures. By combining the flexibility of Raspberry Pi with the security of SSH and the privacy of a VPN, you can create a robust network setup that protects your sensitive information and ensures seamless remote access.
We encourage you to experiment with the techniques outlined in this guide and share your experiences in the comments below. For more tips and tutorials, explore our other articles on Raspberry Pi and cybersecurity. Together, let's build a safer digital world!

